KubeSphere的架构
# KubeSphere的架构
#### 默认DashBoard
> 这个DashBoard是kubernetes原生支持的, 安装起来也非常的简单, 但是, 我们最终不会使用DashBoard, 因为DashBoard的功能太少了, 不满足我们的开发需求, 因此我们不用, 最终我们使用**kubeSphere**
## KubeSphere的安装
[**官网指引**](https://v2-1.docs.kubesphere.io/docs/zh-CN/installation/prerequisites/)
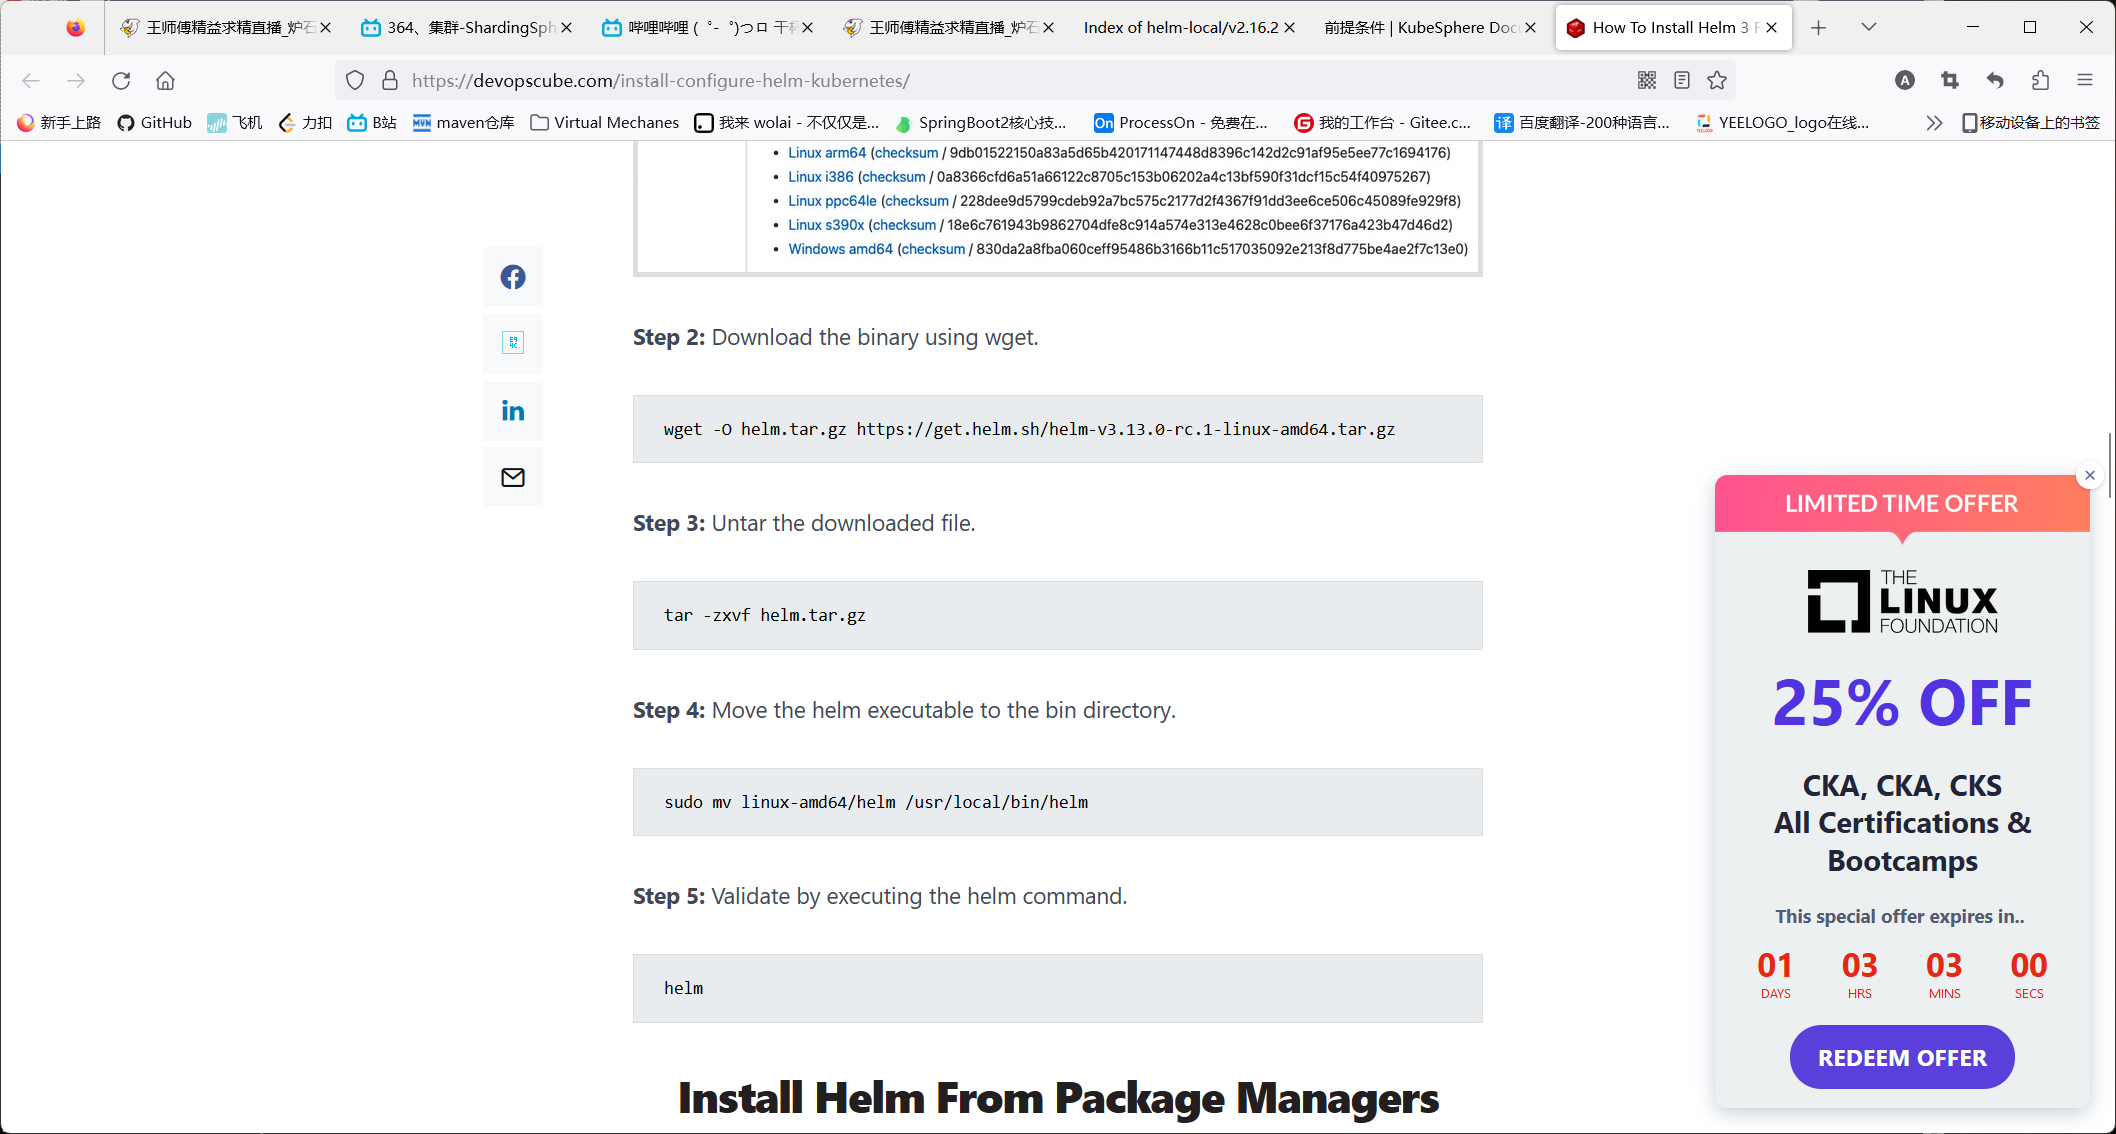
### 环境安装-安装helm(master节点执行)

[下载2.16.2版本的helm](https://mirrors.huaweicloud.com/helm/)
**文档怎么说就怎么做! 还有记得快照**
```shell
helm version
Client: &version.Version{SemVer:"v2.16.2", GitCommit:"bbdfe5e7803a12bbdf97e94cd847859890cf4050", GitTreeState:"clean"}
```
#### 授权
```yaml
#helm-rbac.yaml
apiVersion: v1
kind: ServiceAccount
metadata:
name: tiller
namespace: kube-system
---
apiVersion: rbac.authorization.k8s.io/v1
kind: ClusterRoleBinding
metadata:
name: tiller
roleRef:
apiGroup: rbac.authorization.k8s.io
kind: ClusterRole
name: cluster-admin
subjects:
- kind: ServiceAccount
name: tiller
namespace: kube-system
```
```kubenetes
kubectl apply -f helm-rbac.yaml
```
### 环境安装-安装tiller(主节点执行)
```shell
helm init --service-account=tiller --tiller-image=registry.cn-hangzhou.aliyuncs.com/google_containers/tiller:v2.17.0 --history-max 300
```
## 安装 OpenEBS 创建 LocalPV 存储类型
[**步骤**](https://v2-1.docs.kubesphere.io/docs/zh-CN/appendix/install-openebs/)

### 问题1
> 如果按照我这样来安装, 就会出现这个问题, 原因是默认没有仓库源, 这个默认的仓库源, 是谷歌的, 默认是403, 因此, 我们需要一个适合的仓库源
```shell
helm repo add stable http://mirror.azure.cn/kubernetes/charts
helm repo update
```
> **执行以上两条指令, 添加合适的仓库源就可以成功下载了**
### 问题2
> 按照官方的下载连接, 我们发现出现了如下的问题

**这是因为官方的下载链接更新了, 而说明文档没更新**
> 我们需要在GitHub找到合适1.7.X的kubenetes的版本号
> **我们最终选择这个版本号, 执行以下两个指令**
```shell
kubectl apply -f https://github.com/kubesphere/ks-installer/releases/download/v3.2.0/kubesphere-installer.yaml
kubectl apply -f https://github.com/kubesphere/ks-installer/releases/download/v3.2.0/cluster-configuration.yaml
```
> <font color="red">**注意: 刚开始什么都没有是正常的, 按照这个最小化安装最多10MIN下完, 我试过其他的, 下载一个小时都下不完, 别自作聪明**</font>
**如果登录不了, 用下面的指令修改密码, 改密码需要较长的时间!!!**
```shell
kubectl patch users <USERNAME> -p '{"spec":{"password":"<YOURPASSWORD>"}}' --type='merge' && kubectl annotate users <USERNAME> iam.kubesphere.io/password-encrypted-
```
> **别手贱 别改, 千万别改密码, 改了就完蛋了, 很可能永远都进不去, 别改密码!!!!**
## 最小化安装的基础上加插件
[**DevOps插件的安装**](https://v3-2.docs.kubesphere.io/zh/docs/pluggable-components/devops/)
[**Alerting插件的安装**](https://v3-2.docs.kubesphere.io/zh/docs/pluggable-components/alerting/)
> **注意, 新版是没有notification的, 也没有sonarqube的**